Virtual Thermostat
Image it’s a cold winter day and you need to raise the temperature of your living room. Of course, you don’t want to change your normal plan and your at home mode doesn’t fit - you want it warmer/colder, now!
For this, there is Virtual Thermostats. Each of your plans can be added as a virtual thermostat device to Homey. So how does it work then?
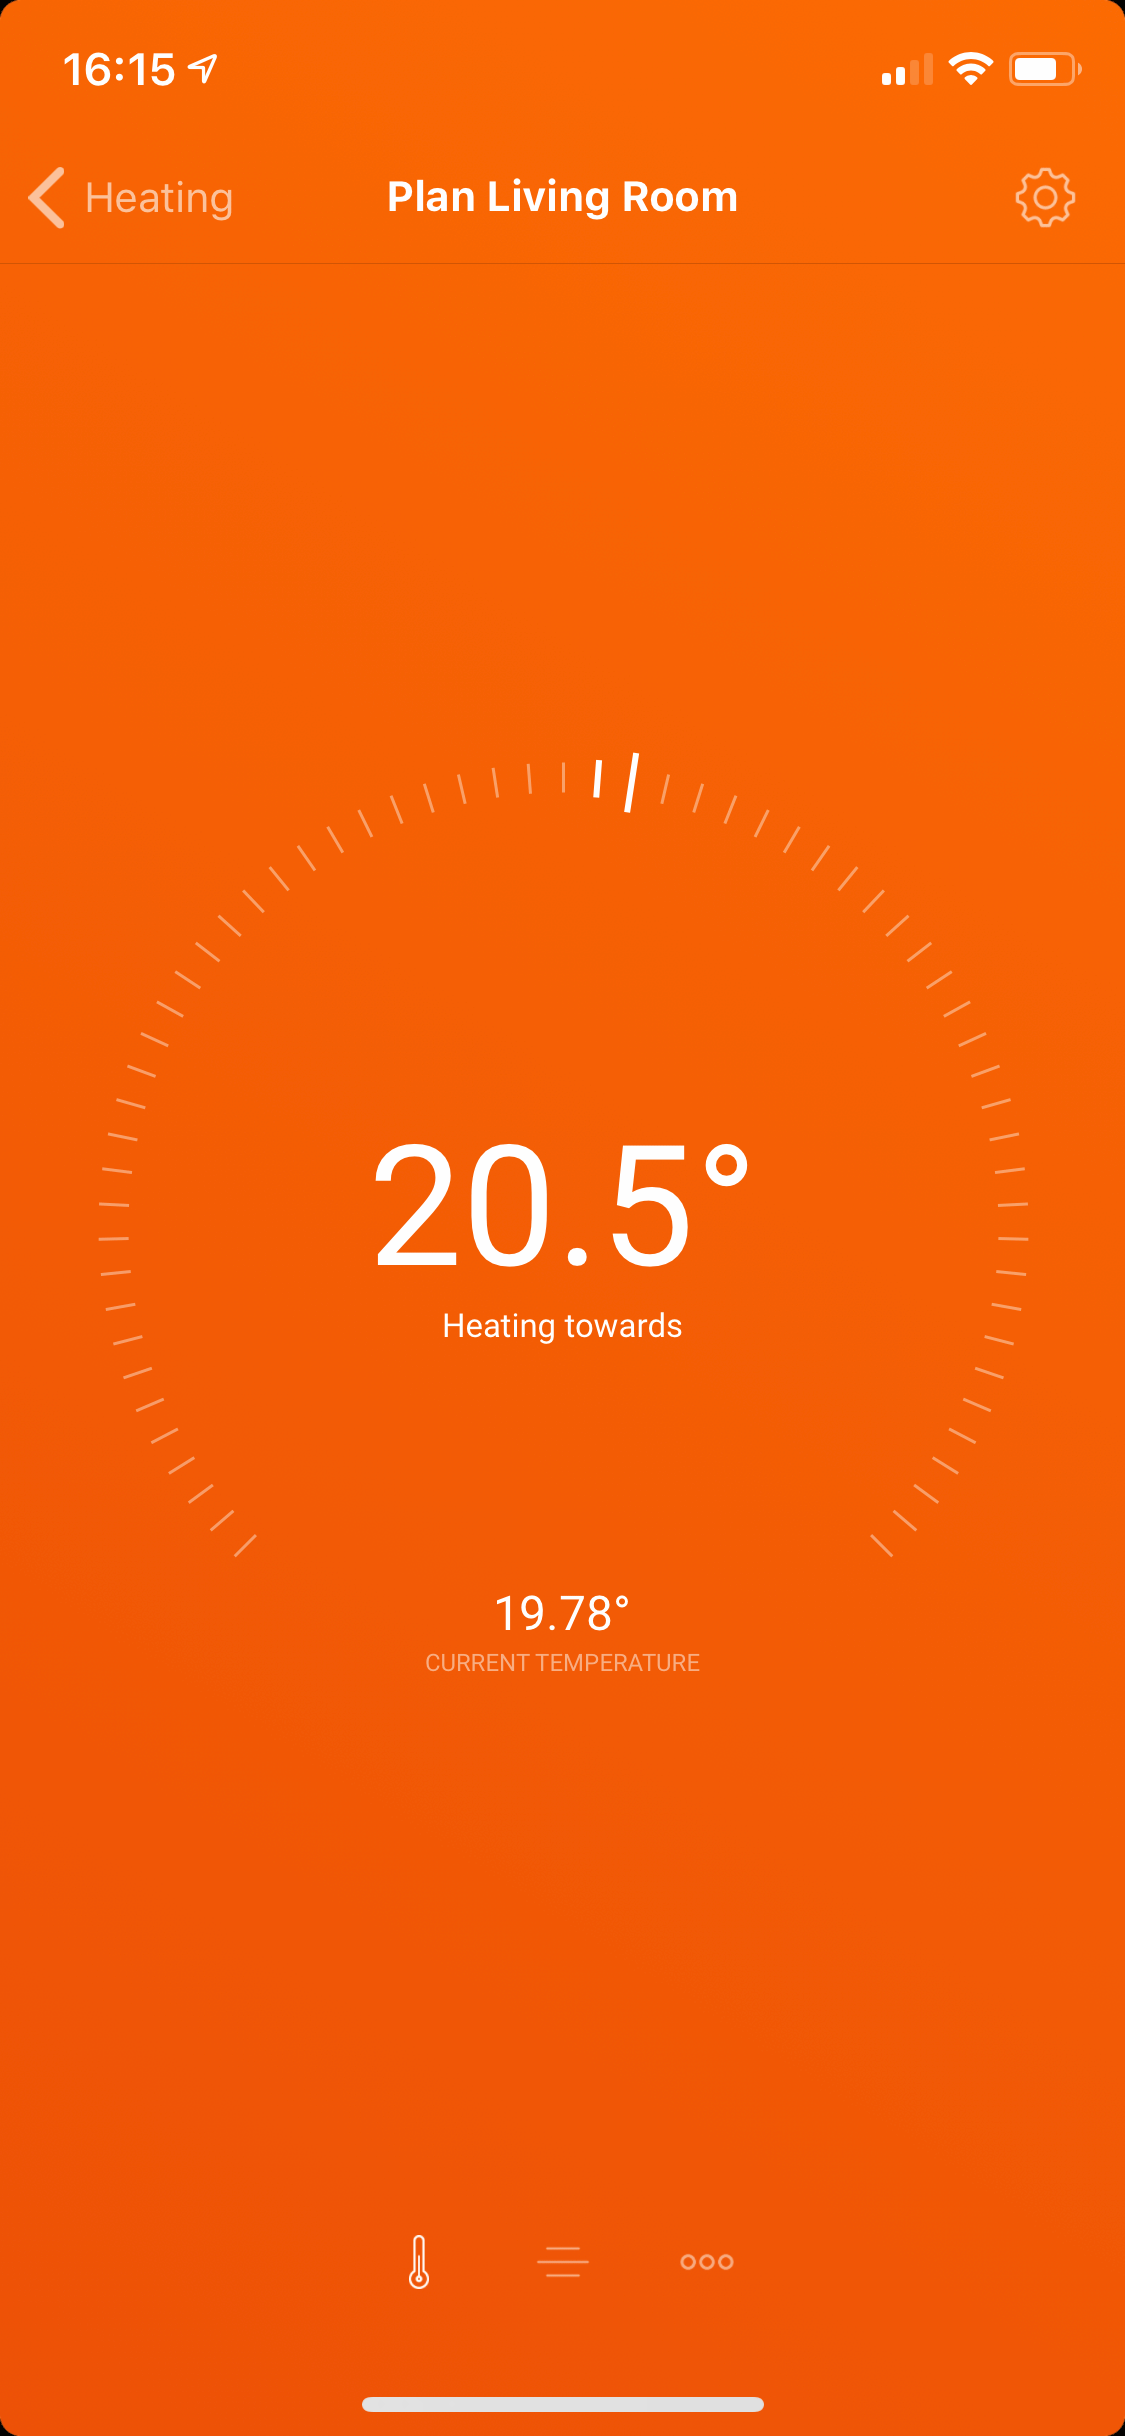
- Open up the virtual thermostat
- Raise it to the temperature you feel comfortable with
- The Heating scheduler adjusts all devices associated with that plan
The Heating scheduler remembers you choice until end of the day, your normal schedules apply again afterwards.
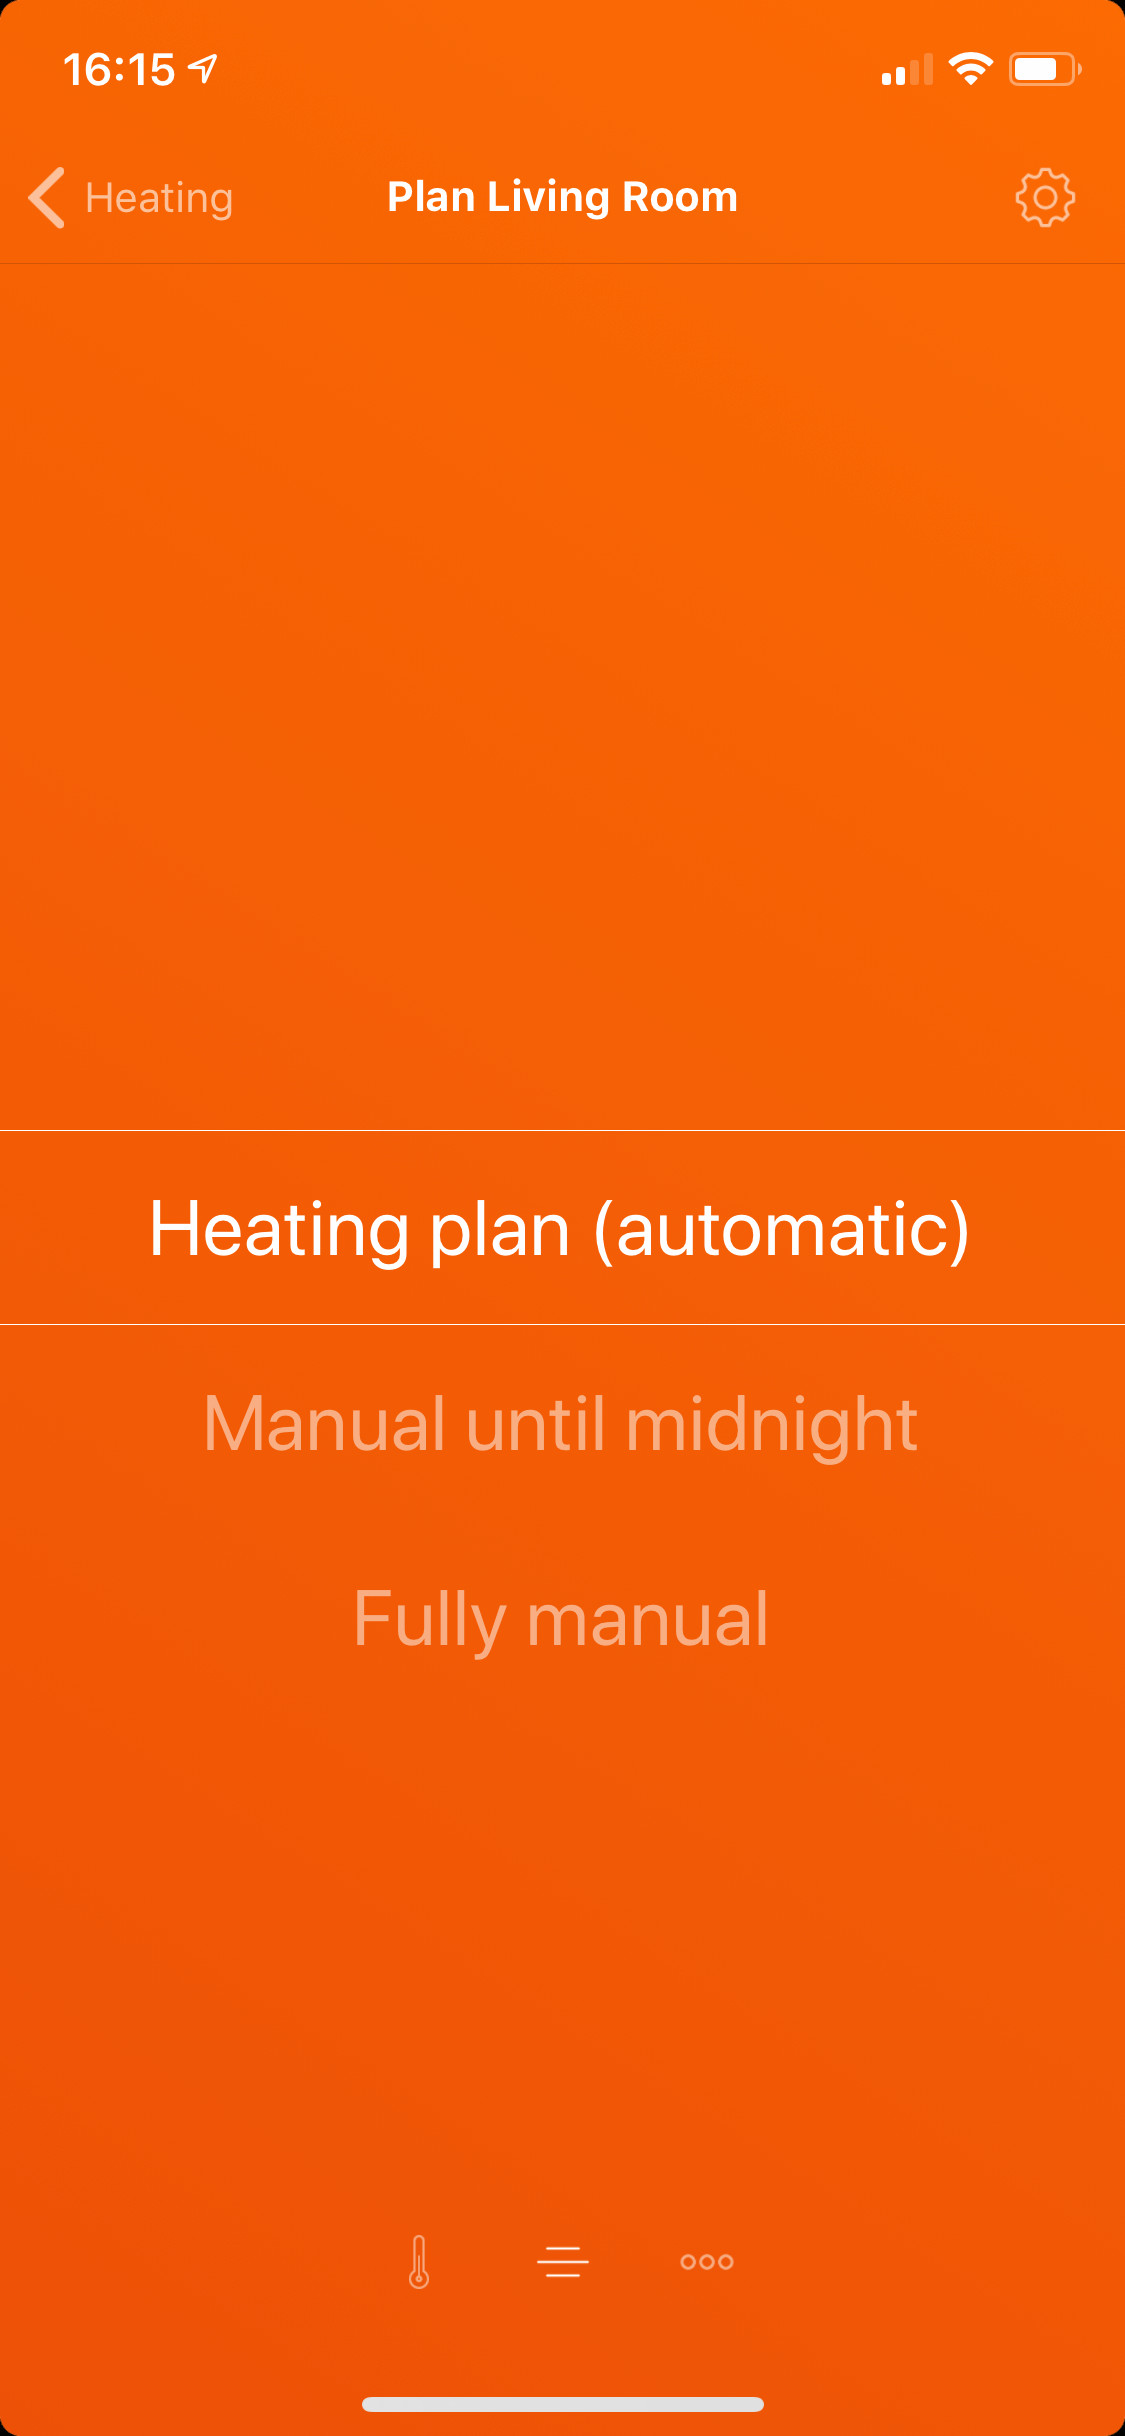
You want to switch from your set temperature back to your normal schedule? Just flip the mode on the same device back to Heating plan (automatic) and you’re again done. If you want to keep your setting forever (ignore the plan), set the mode to Fully manual.
Some technical details
The virtual device comes with the following capabilities
target_temperatureSets that value for all devices associated with the planmeasured_temperatureShows the mean value of all temperature readings from all devices related to the planthermostat_overrideThis allows to define what happens when the target temperature is changed, independent of the plan’s schedule.- Heating plan (automatic) - Target temperature is adjusted according with the plan
- Manual until midnight - Target temperature is kept until midnight
- Fully manual - Plan get’s disabled. You still control al devices with that thermostat.
All of the capabilities can be changed/watched with Flow.
Installation
That’s five easy steps
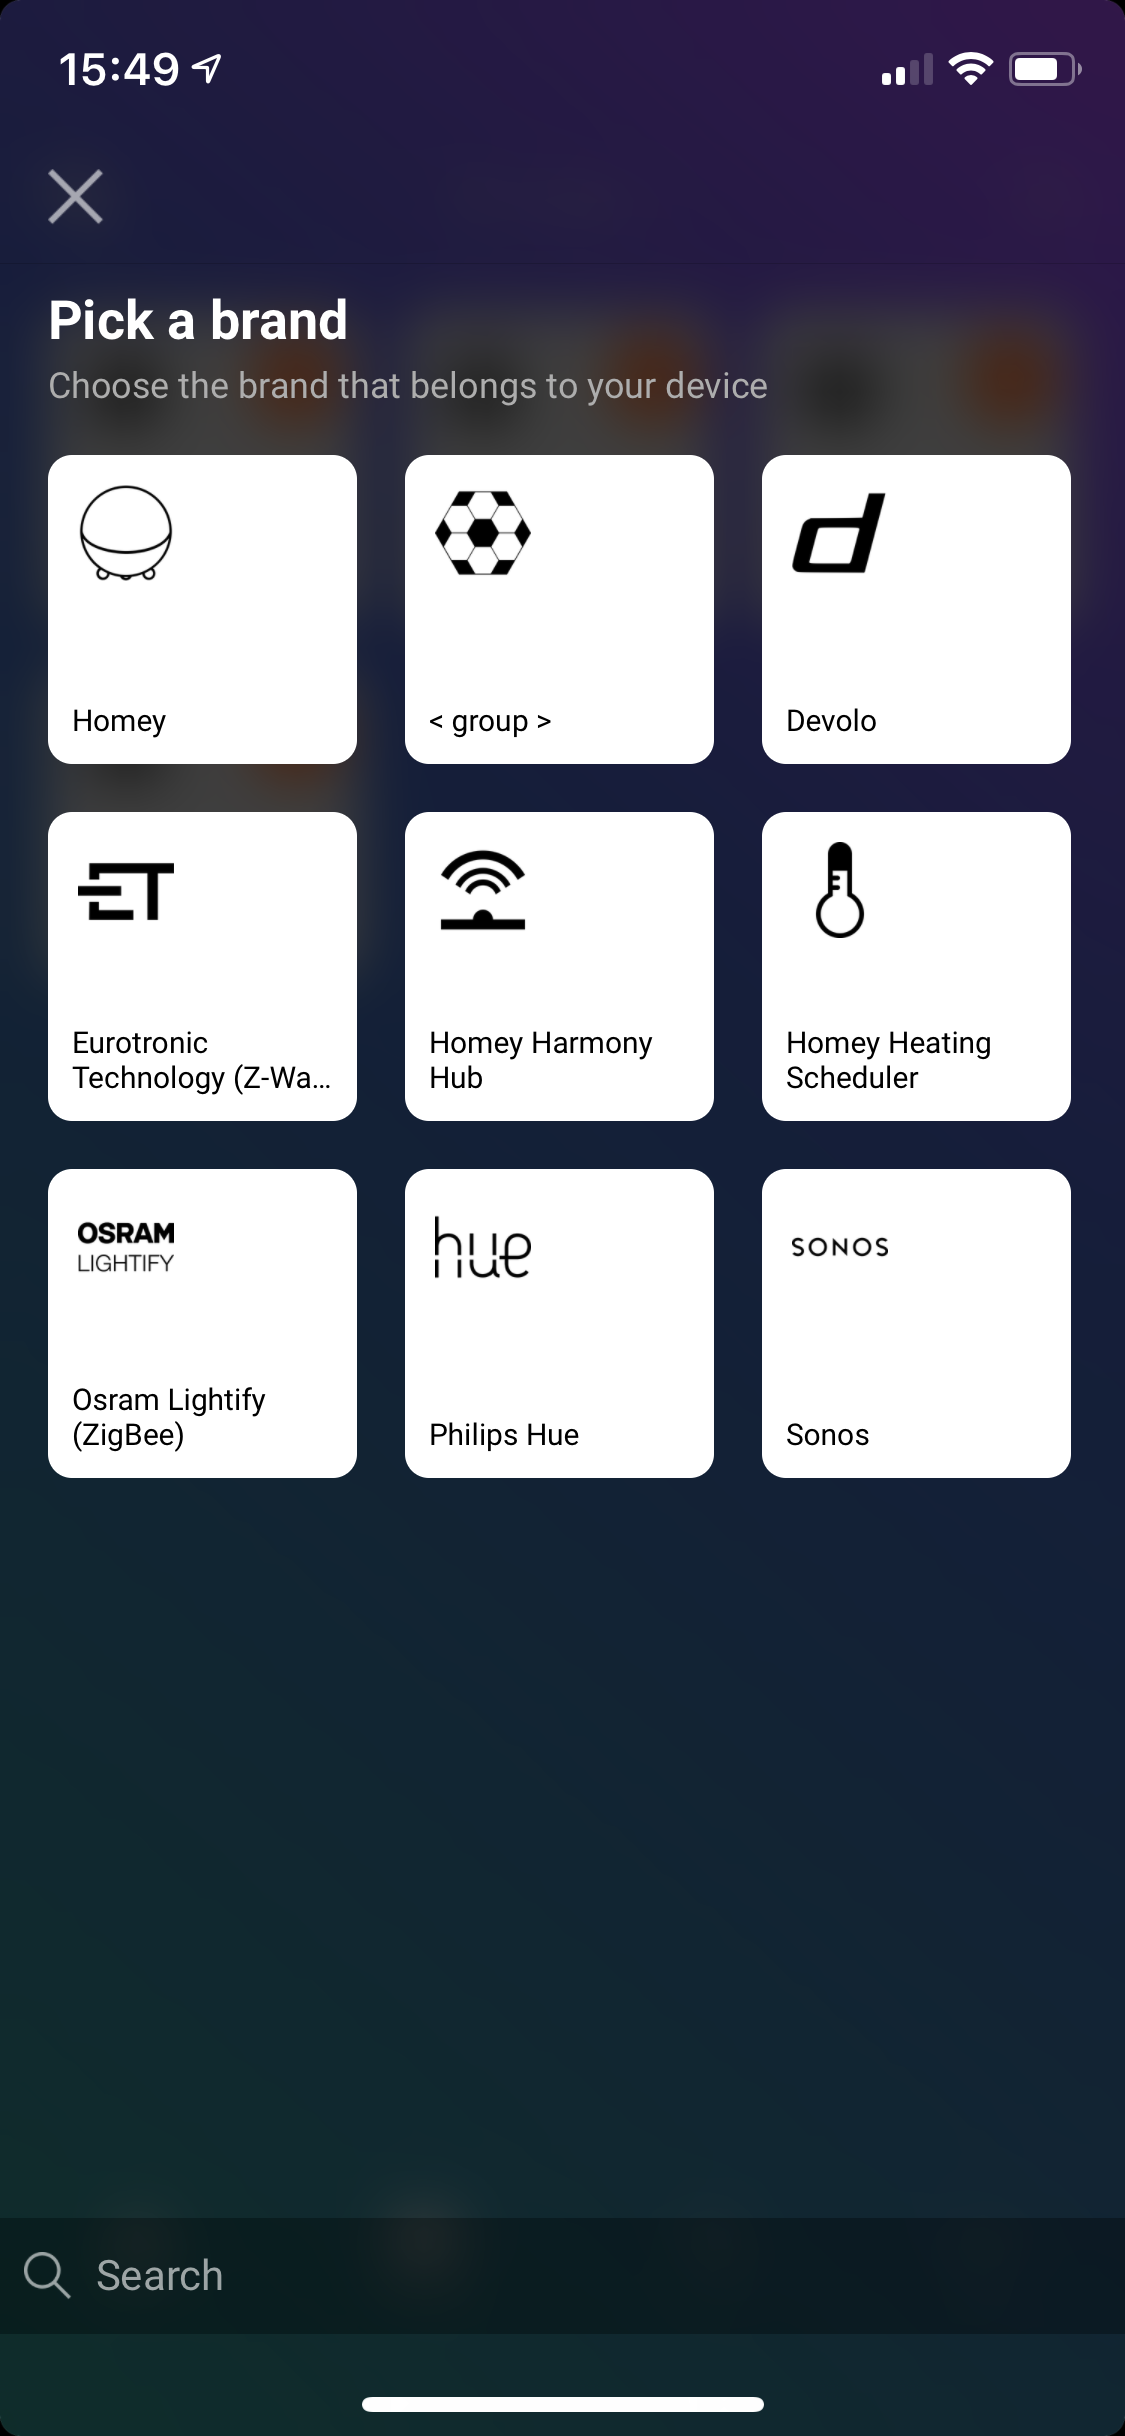
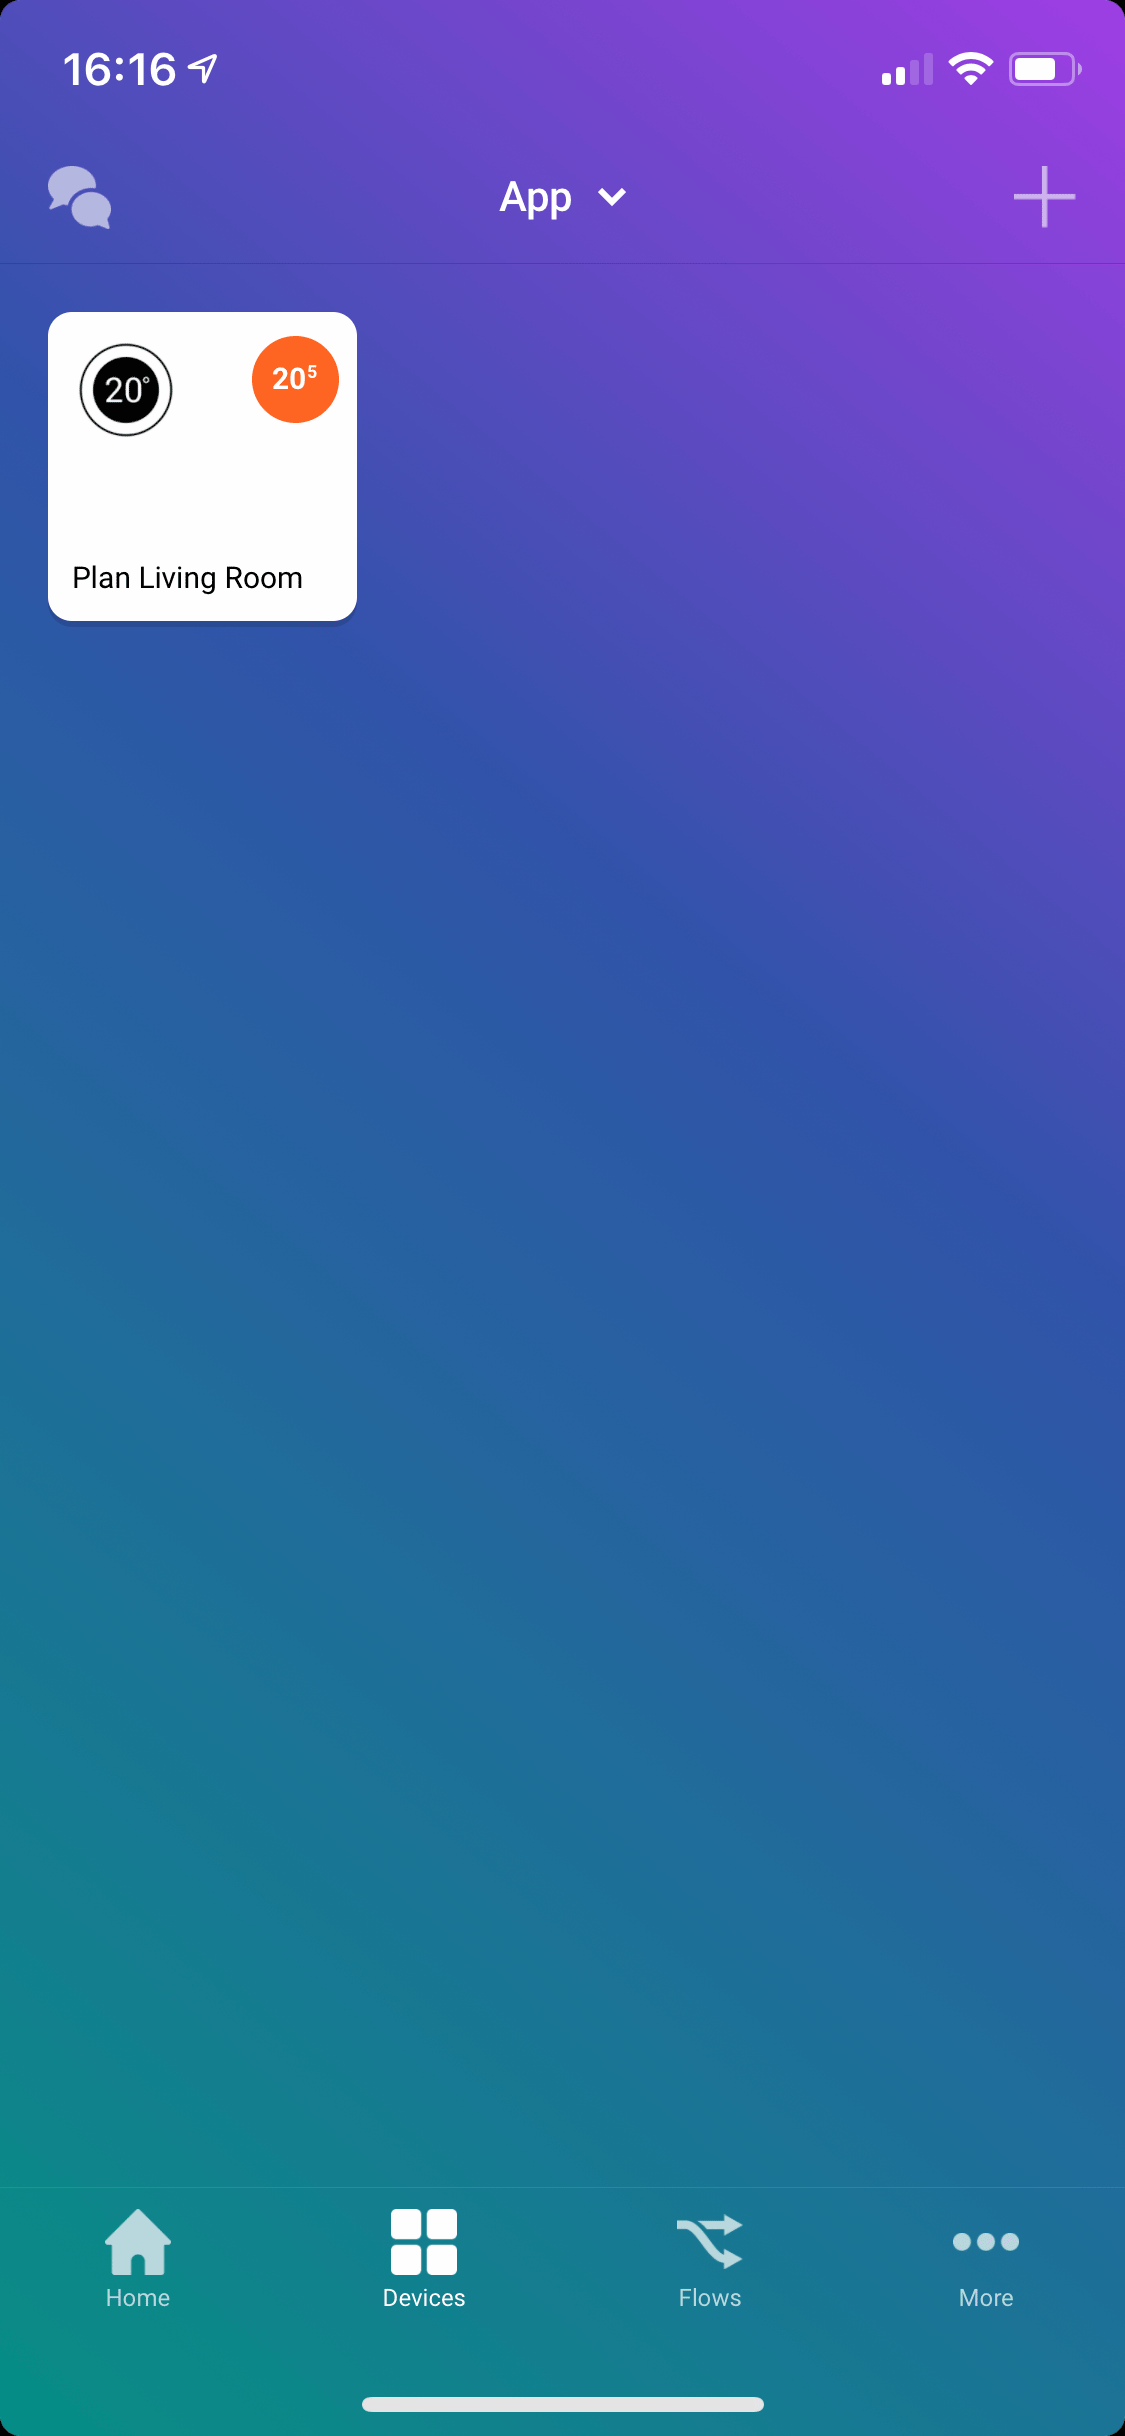
- Click Devices and the Add icon top-right
- Select the Homey Heating Scheduler driver
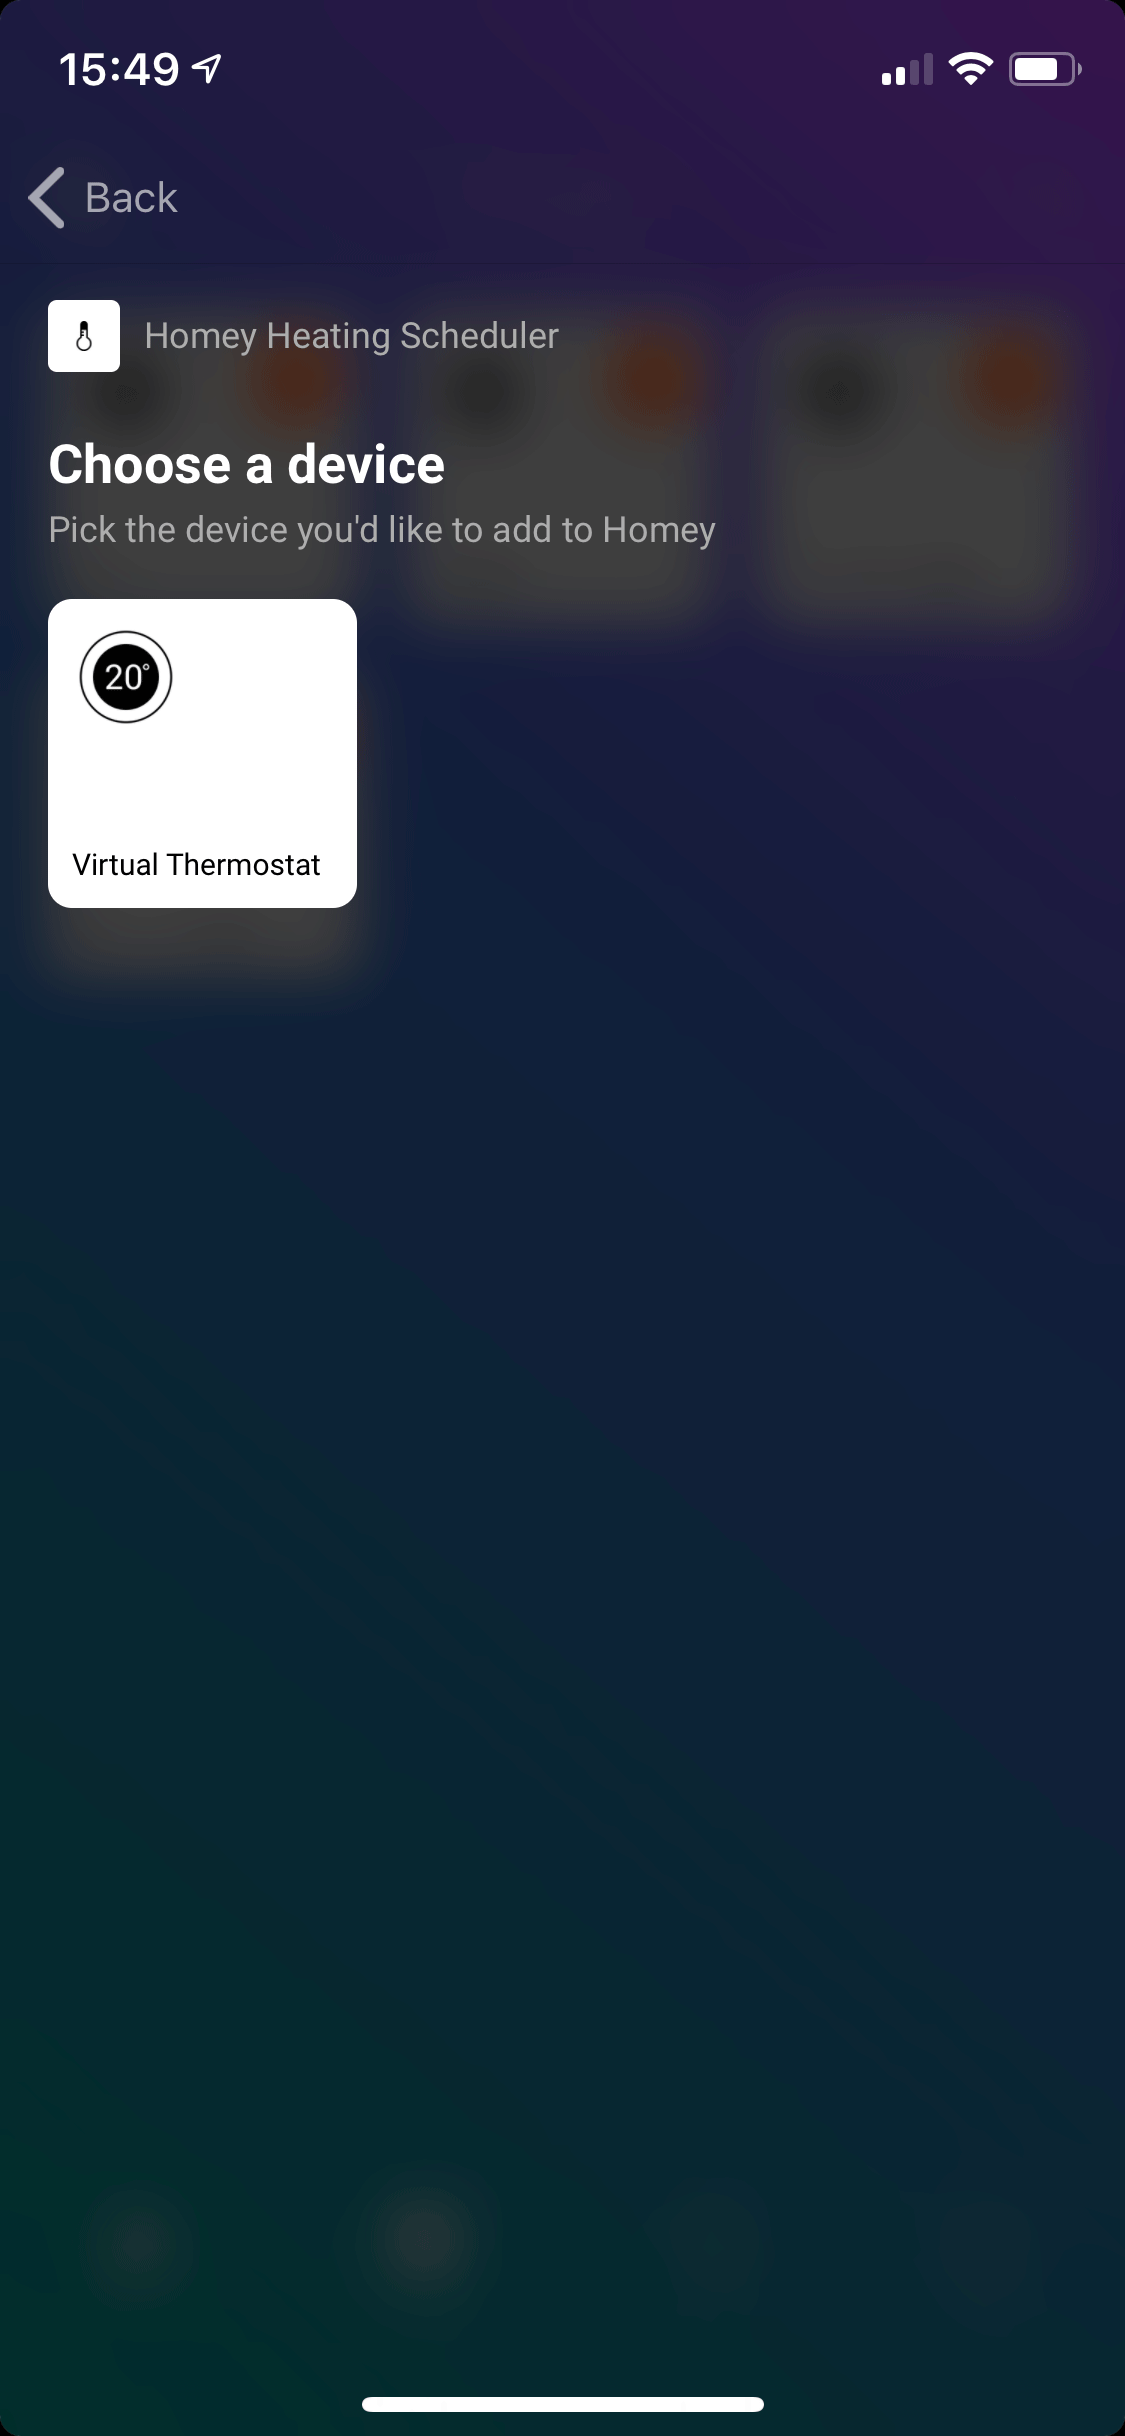
- Select the Virtual Thermostat device
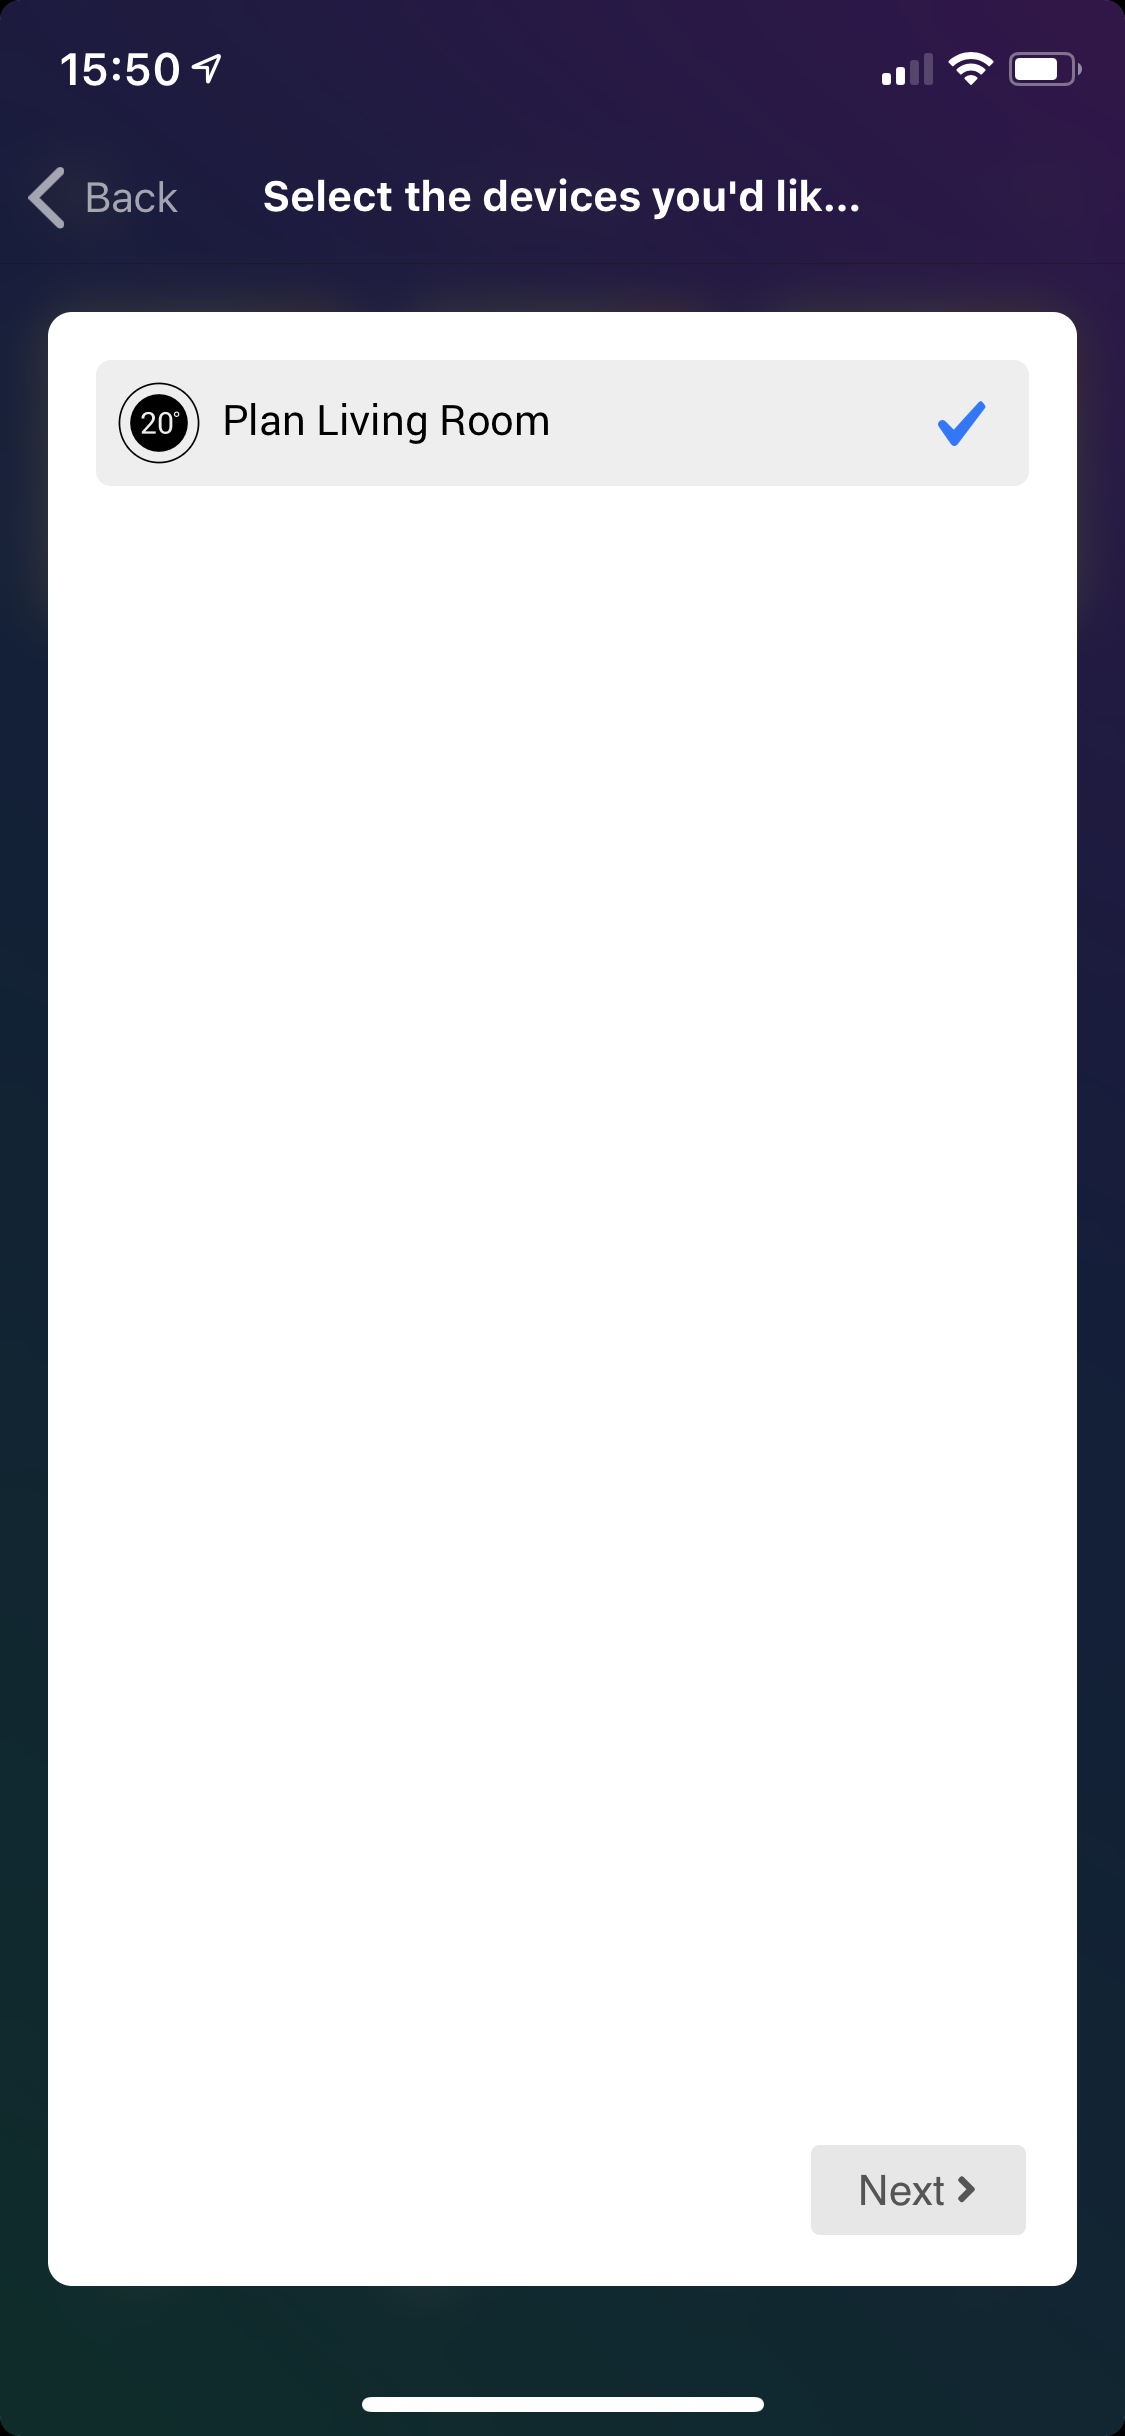
- Select the plans you want to add
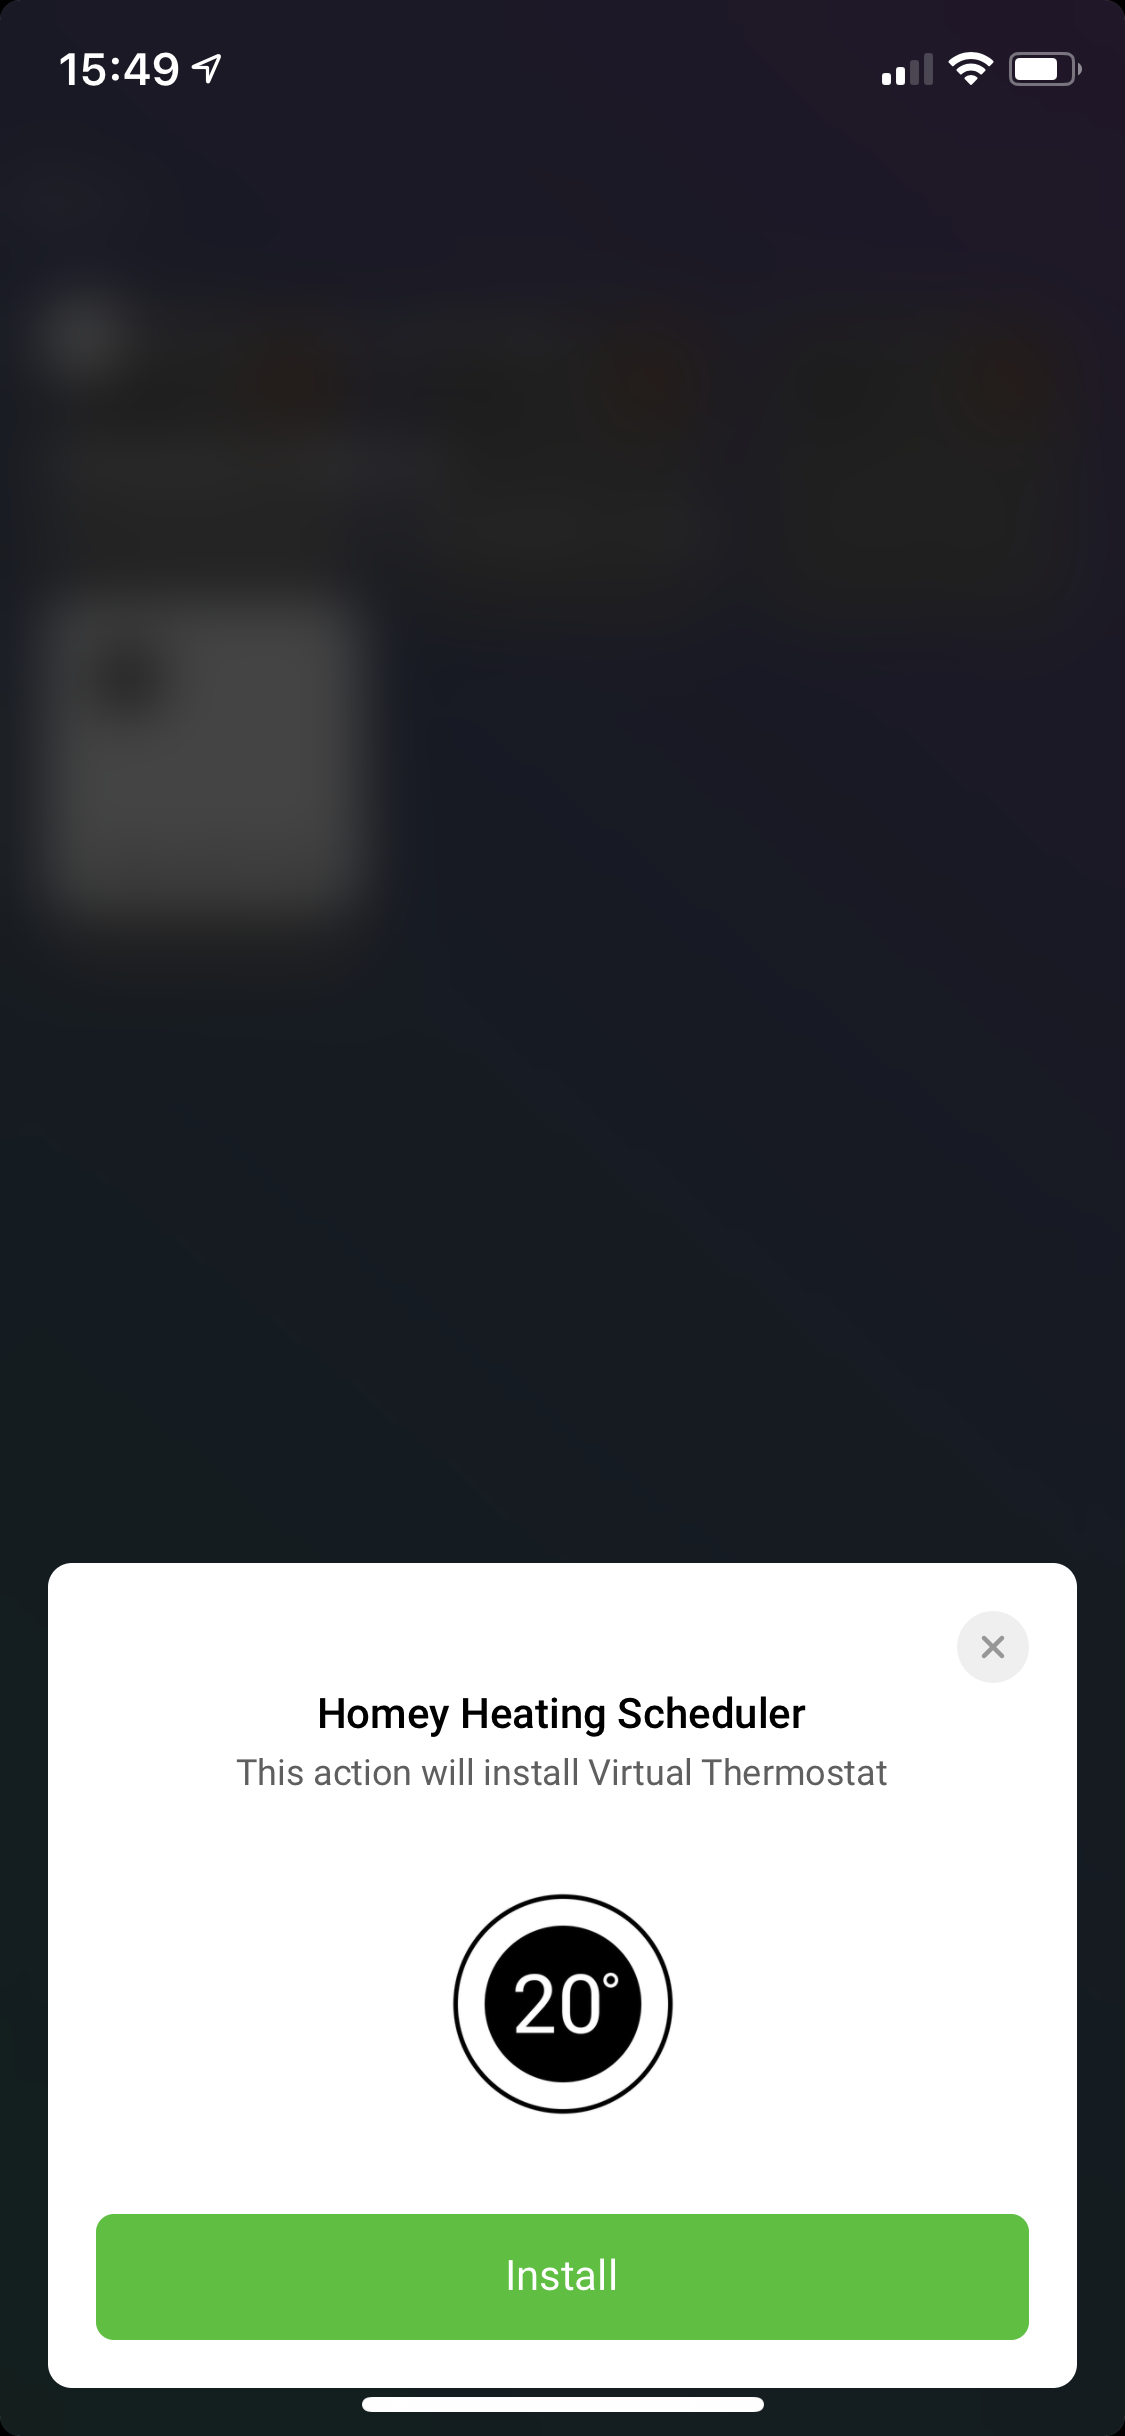
- Confirm the installation of your’re devices
You’re eady to go.